In the past two years we have grown children into young adults and managed all of their activities, as so many others do...however, we also moved house. This alone is not a novelty but it’s been a large undertaking for us with three kids, a dog, two full time working adults, three new schools for kids, and all the things that go along with any of the above. Food has been important, as it always is for us, but I haven’t focused too much on photographing or writing about what I’ve cooked or baked. And if you add in the ease of snapping pics onto Instagram or Facebook then you can imagine just how undisciplined one can be with regard to her own blog. Now, take into consideration that the technology has changed since the creation of this blog and I know that it’s quite easy to craft a blogpost nowadays...however, I just tried to update my blog platform and low and behold the technology has seriously changed so much that it’s now a complete relic! That’s an issue for another day...
So why am I here now? Well, an old childhood friend of mine posted a lovely comment to my Facebook feed yesterday about the blog and how much he enjoyed it and it made me long to be creative again. Apparently someone is interested in what I’m cooking!
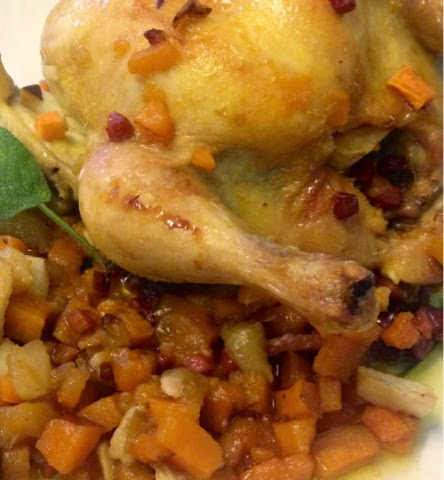
Here’s tonight’s dinner:
Apple-Sausage Stuffed Pork Chops
Stuffing:
3 tablespoons, butter + 1 tablespoon
Oion, chopped
2 celery stalks, chopped
1/4 cup finely chopped parsley
1 link chicken and apple sausage, finely diced
5 cups potato bread cubes plain stuffing
4 oz. chicken broth
1 tsp ground ginger
1 tsp ground nutmeg
1 Apple, peeled and flesh chopped into small dice
1/3 cup dried cranberries
Salt and pepper
5 extra thick pork chops
15 medium wooden toothpicks
2 tablespoons olive oil
1 heaping tablespoon, flour
1 tablespoon butter
2 tablespoons Dijon Mustard
2/3 cup chicken broth
1 tablespoon Calvados or other brandy
Preheat oven to 350.
Prepare stuffing by first melting butter in a large sauté pan over medium heat. Next add it in the sausage and sauté until beginning to crisp. Next add in the celery and the onion along with the ginger and nutmeg. Sauté until onions and celery are soft. Next add in the bread crumbs and mix well and then add in several grindings of salt and pepper and finally add in the broth, along with the apple and the cranberries. Allow the broth of boil a moment before adding in the remaining tablespoon of butter and remove from heat.
Place each chop on a plate flat side down and with a sharp knife carefully slice the meat into what looks like a “pocket” into the thick side of the chop. Do not slice entire chop in half - instead, allow a piece of meat to remain on both the top and bottom ends of the chop. See photo. Salt both sides of the chops.
Using a quarter-cup measure, spoon a heaping 1/4 cup of the stuffing into the pocket of each chop and secure the flesh closed using three toothpicks.
Heat oil in large cast iron skillet or other heavy pan. Place eat chop into the pan and brown meat over medium high heat. Do not turn chops for at least 5-6 minutes to ensure a crispy outside. Cook chops about 5 minutes per side. Remove chops to a large baking dish and in the frying pan, mix flour and butter together until it forms a paste. Next add in the mustard and mix well - but quickly add in the brandy and let it boil up about 30 seconds while scraping up all the browned meat bits. Next add in the chicken broth and boil for 45 seconds. Pour the liquid over the chops and bake uncovered for 30-35 minutes or until meat thermometer registers proper temperature.
Serve!!